Carpet Installation Process: Key Techniques for a Professional and Long-Lasting Finish
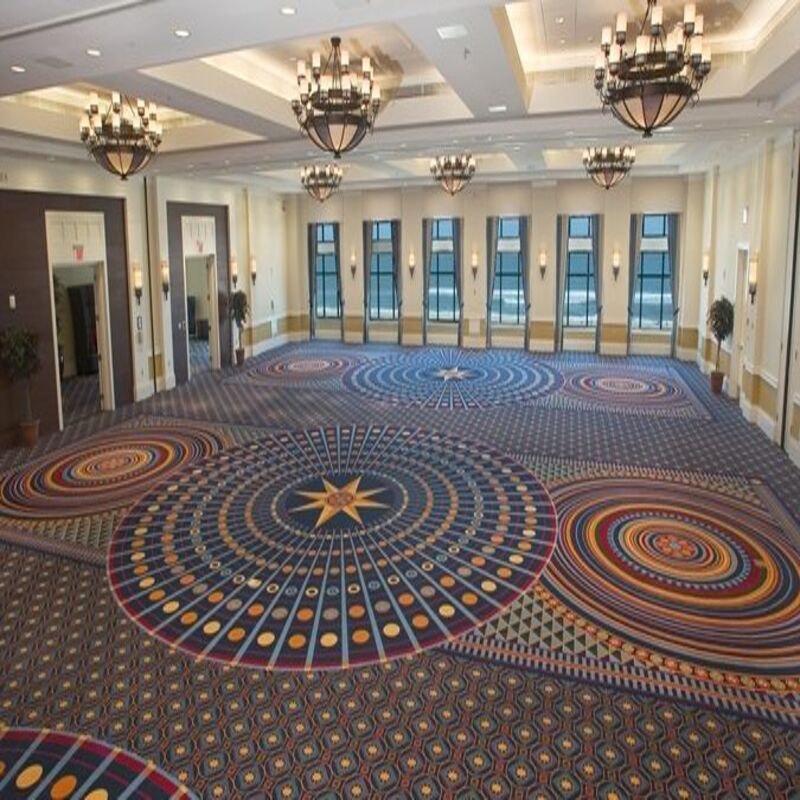
Carpet is one of the most popular flooring solutions for hotels, offices, conference centers, luxury clubs, and residential interiors. It offers excellent comfort, sound insulation, safety, and aesthetic appeal. However, the performance and lifespan of a carpet depend not only on the quality of the material but also on the installation process.
Professional carpet installation requires precise planning, specialized tools, and strict adherence to industry standards. In this guide, we will explore the complete carpet installation process and the critical techniques that ensure a flawless result.
Why Proper Carpet Installation Matters
A high-quality carpet can quickly lose its appearance and functionality if installed incorrectly. Common issues caused by poor installation include:
- Visible seams
- Wrinkles and bubbles
- Edge lifting
- Uneven surfaces
- Premature wear
- Reduced service life
Proper installation ensures that the carpet remains smooth, secure, and visually appealing for years while maximizing the return on investment.
Essential Tools for Carpet Installation
Professional installers rely on specialized tools to achieve precise results. Common carpet installation tools include:
- Carpet cutting knife
- Edge trimming machine
- Carpet stretcher (power stretcher)
- Knee kicker
- Utility knife
- Flat spatula
- Heavy-duty scissors
- Needle-nose pliers
Using the right tools is essential for accurate cutting, stretching, seaming, and finishing.
Step 1: Subfloor Preparation
The foundation of a successful carpet installation is a properly prepared subfloor.
The subfloor may consist of:
- Concrete flooring
- Wooden flooring
- Raised access floors
- Other stable substrates
Before installation, the surface should be:
- Smooth and level
- Clean and dust-free
- Free from oil, grease, and debris
- Structurally sound
- Dry, with moisture content below recommended limits
For concrete floors, moisture content should generally not exceed 8%, and surface level variation should remain within acceptable tolerances.
Step 2: Layout Planning and Marking
Accurate layout planning is critical, especially for large commercial projects.
Installers should follow design drawings carefully and establish:
- Center lines
- Reference points
- Room divisions
- Pattern alignment guides
When no specific design requirements exist, the carpet layout should be centered symmetrically to achieve a balanced appearance.
Proper planning reduces waste and ensures visual consistency throughout the project.
Step 3: Carpet Measuring and Cutting
Carpet cutting should be carried out in a spacious area where measurements can be verified accurately.
Each room should be measured individually, and carpet sections should be labeled accordingly.
Key cutting considerations include:
- Allowing approximately 20 mm of extra length for fitting and stretching
- Accounting for carpet pattern direction
- Removing factory edges where necessary
- Matching patterns for large installations
For large hotel lobbies, banquet halls, or conference centers, cutting and seaming may be completed directly on-site.
Step 4: Installing Tack Strips
Tack strips, also known as gripper rods, are commonly used in stretch-in carpet installations.
The strips are fixed around the room perimeter using concrete nails or other suitable fasteners.
Important installation guidelines include:
- Positioning strips approximately 8–10 mm from skirting boards
- Ensuring nail points face the wall
- Maintaining consistent spacing around the room
Proper tack strip installation allows the carpet to be securely stretched and fixed in place.
Step 5: Installing Carpet Underlay
Carpet underlay provides additional comfort and enhances overall carpet performance.
The underlay is typically secured using spot adhesive and installed approximately 10 mm away from the tack strips.
Benefits of carpet underlay include:
- Improved walking comfort
- Enhanced sound absorption
- Better thermal insulation
- Increased carpet durability
- Reduced wear and tear
Premium hospitality and commercial projects often incorporate high-quality underlay systems to improve the guest experience.
Step 6: Carpet Installation
Carpet Seaming
Once the carpet sections are positioned, seams are joined together carefully.
Professional seam construction involves:
- Aligning carpet edges accurately
- Stitching or heat-seaming where required
- Applying seam tape for reinforcement
- Protecting seam areas during installation
Proper seaming ensures a nearly invisible transition between carpet sections.
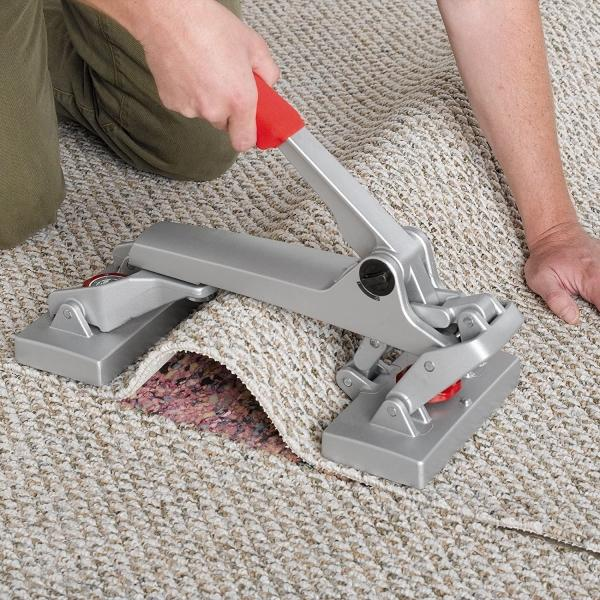
Carpet Stretching and Fixing
Carpet stretching is one of the most important stages of installation.
Installers first secure one side of the carpet onto the tack strips and then use carpet stretchers to tension the material across the room.
The carpet is stretched gradually in multiple directions until:
- Wrinkles are removed
- Surface tension is balanced
- The carpet lies perfectly flat
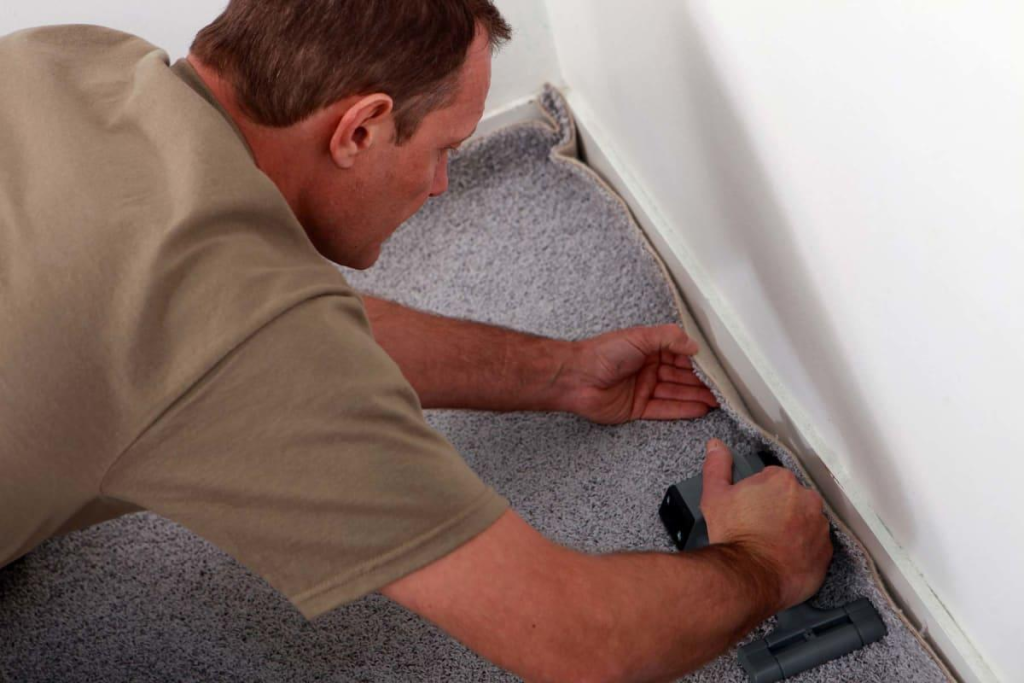
Excess material is then trimmed and tucked neatly beneath the skirting boards.
Step 7: Adhesive Installation Method
For some commercial applications, direct glue-down installation is preferred.
This method is particularly common in:
- Hotels
- Office buildings
- Retail stores
- Airports
- Conference centers
Adhesive installation can be performed using:
Full Spread Adhesive
The entire carpet backing is bonded to the subfloor, providing maximum stability and durability.
Partial Adhesive Bonding
Often used in hotel guestrooms and residential spaces, this method reduces installation costs while maintaining adequate performance.
After applying the adhesive, the carpet is carefully positioned, stretched, and pressed firmly into place.
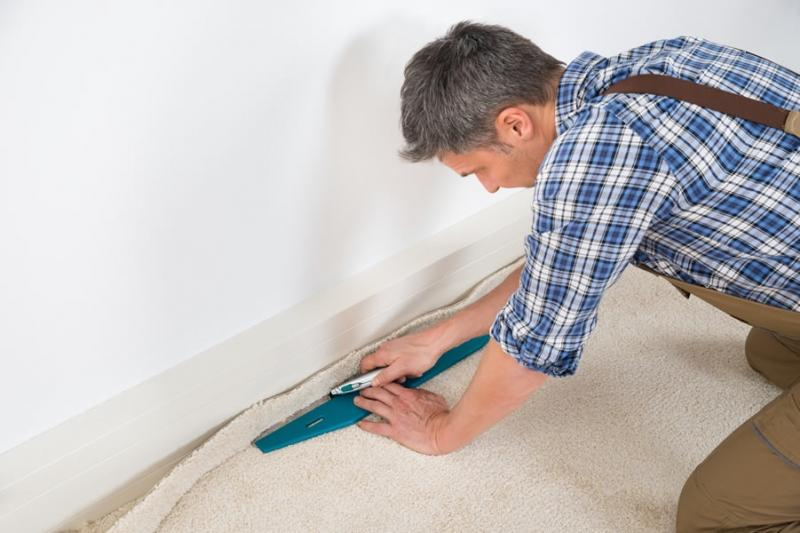
Step 8: Detail Finishing and Cleaning
The final stage focuses on precision finishing.
Special attention should be given to:
- Door thresholds
- Carpet transitions
- Stair edges
- Skirting board intersections
- Pipe penetrations
- Different carpet color junctions
All edges should be securely fixed and neatly concealed.
After installation is complete, the carpet should be vacuumed thoroughly to remove loose fibers, dust, and installation debris.
Best Practices for Commercial Carpet Projects
For large hospitality and commercial installations, professional installers should always:
- Verify dimensions before cutting
- Check pattern direction throughout the project
- Ensure proper seam alignment
- Maintain consistent stretching tension
- Protect newly installed carpet from traffic during curing
Following these practices helps ensure superior appearance and long-term performance.
Conclusion
Carpet installation is a highly skilled process that combines technical expertise with attention to detail. From subfloor preparation and accurate cutting to stretching, seaming, and final finishing, every step contributes to the overall quality of the finished floor.
Whether you are installing carpet in a hotel, office, conference center, luxury club, or residential project, choosing a high-quality carpet and partnering with experienced installation professionals will ensure a durable, attractive, and long-lasting flooring solution.
A professionally installed carpet not only enhances interior aesthetics but also improves comfort, functionality, and value for years to come.